The Brave Cook

My life from the heart of Berlin!

Archive for the tag “food”

Best of… 2012 Food Photography!

I was thinking for a long time if to make a 2012 review or not since my blog does exist only three months until now, but I thought it would be a nice idea to make simply a Best Of… of all my food photographies from last year. Photography is not really one of my big hobbies and my photographies are not that professional, but most of my visitors and followers enjoyed my photographies a lot and maybe that was something that made my blog special.

So this is my Best of.. especially for everyone who is visiting my blog for the first time. Enjoy the photographies and may all of you have a great year 2013!

The Brave Cookimgp0302 imgp0309 imgp0322 imgp0327 imgp0405 imgp0408 IMGP0426 imgp0552 imgp0549 imgp0571imgp0486 IMGP0695 IMGP0616 IMGP0631

Some baking before Christmas

IMGP0631The holidays are coming closer and I’m pretty happy about that because it means that I have almost two weeks off to work on so many projects. I really hope to finish some of my projects that are already rotating in my head for a long time. As the weather is pretty wet and cold outside it’s the perfect time to stay in the kitchen and to do some baking. I like baking more than cooking even though you end up with more stuff to clean.

I’ve found a recipe online for a white chocolate orange cake and I’ve changed it a little bit by adding red currant to it. Due to the fact that I will be very busy during my christmas holidays my next post will be in two weeks. I thought that this would be the perfect post to wish you all a lovely christmas and happy holidays!

Ingredients

For the sponge mixture:

  • 200 grams flour
  • 280 grams sugar
  • 80 grams cocoa, sifted
  • 100 ml milk
  • 10 eggs
  • 1 dash of salt

For the cream filling:

  • 6 leaves gelatin
  • 1 liter orange juice
  • 50 grams jam sugar
  • 300 grams white chocolate, broken up
  • 800 ml whipped cream

Instructions

In the original recipe there was a different instruction for the icing but I wanted to cover the complete cake with the white chocolate cream so I simply made more of the white chocolate cream by adding the extra chocolate to it. To make a separate icing you need to take 250 grams of chocolate and mix it with 80 ml whipped cream.

First start with the sponge mixture. Preheat the oven to 160 C°. Grease and base line a 20cm round, deep cake tin with baking paper. Separate the eggs, beat the whites until stiff. Add the sugar and the yolks first. Now add the flour, the cocoa and the milk, beat until smooth, then tip into the tin. Bake for 30 minutes. Cool in the tin for 30 minutes, then turn out onto a wire rack and cool completely. Using a bread knife, halve the cake horizontally in three round pieces.IMGP0604IMGP0608Melt the chocolate in a pan over low heat. In the meantime, soak the gelatin. Add the orange juice and the whipped cream to the melted chocolate. Do the same with the soaked gelatin. Put the mixture for some minutes into the fridge to let it thicken slightly, but do not allow to get too stiff.

Put one half of the cake into a spring form pan, leave a gap on the outside and spread the cream filling over it. To give it a little bit of color and fruity taste, I added some red currant to the recipe. If  you want to do the same, you need to add now some red current over the first half. Now cover with the second half and spread the cream filling again over it until the spring form pan is filled with it on each side. Decorate with the red currant or any other fruit. Alternatively you can use orange stripes for decoration. Let the cream thicken in the fridge for 30 minutes or more, remove the spring form pan when the cream is firm enough.IMGP0616IMGP0621The Brave Cook

What quinces are made for…

IMGP0695The winter season did in fact start and its’s a little bit late for preserves, but I made this year some quince-plum jam for the first time and I did not have the chance to post it yet. I’m so busy all the time with work and all my hobbies, it’s not easy to find the time for a recipe post. Not only that it’s some time ago that I’ve made this jam, but it’s also already gone. I’ve eaten it and prepared some cake with it. I also gave one jar to my mum to use it for her baking. This was only fair, because I received the quinces from my parents garden. This fruit is usually very hard, so that you have to cook it to eat it. It’s used quite often for jam or jelly. I also decided to make some jam out of it. The main reason was that I did never prepare jam before.

It’s very easy to make your own jam, so there is no difficulty or trick behind it. To make my jam more interesting I decided to add plums and ginger to it. That’s why my jam has this beautiful red color on the photographies. You can make your jam out of every fruit to love, there are many great combinations and I’m sure I’ll some of them in the future.IMGP0577

Ingredients

  • 3 quinces
  • 3 plums
  • 1 tbsp (fresh) ground ginger
  • 1 fresh ground vanilla bean
  • 400 grams preserving sugar (1 to 1)

Instructions

As you can see on my photography, I had one big jar and one small jar full of jam in the end. You can use more fruits if you want to make more jam. My cooked quinces and plums made together 400 grams.

First, chop the quinces and the plums in quarters. Put them in a big cooking pot and cover all pieces with water. Bring it all together to a boil and cook it until soft. This should take some 30 minutes.IMGP0690When the quinces are soft enough you can separate the fruits from the juicy water and use a blender, mortar or whatever to blend the soft fruit pieces together. When making jelly instead of jam you need to add extra fruit juice from the cooked fruits. For my amount of fruits (400 grams) I would use two cups of juice to make jelly of it. I did not make jelly, so I simply drank the juice water.

Now add some grounded vanilla and ginger to the cooked fruits and mix it with the same amount of 400 grams of preserving sugar. Adjust the amount of the sugar to the product you’re using, 1 to 1 means that you need to use the same amount of sugar as the amount of fruits you have. Check the texture of the jam and add some juicy if necessary, but remember that the jam gets more firm after a while.IMGP0691IMGP0703Put the jam in a jar and keep it in the fridge if you’re using it up daily. It’s really fun to make preserves. The smell from cooking the fruits is just incredible. It can also be a very beautiful and personal present. I wished I had more time to spend in the kitchen to produce such lovely things.

The Brave Cook


The Smurfs are coming!

Last week I presented you some of my sewing projects and the reactions were so good that I decided to present you more here on my blog. Next to cooking sewing is another big hobby of me and I don’t want to refrain from sharing my sewing experiences with you the same I do with my cooking. When it comes to cooking I’m an amateur. Regarding my sewing it’s not so easy to estimate my skills, but I’m trying things out and I’m determined to get better and better. Learning to sew means to me to create different things. Last week I have presented you a waistcoat and an altered bag. This week I tried to make something new out of an old piece of cloth. Actually, I made some underwear out of a t-shirt.

I was not planning to make mens underwear out of a t-shirt this week, but looking for some leftover fabric in my closet I’ve found an old smurf t-shirt. Yes, it was in fact mine! I had even worn that t-shirt a couple of times at work! This t-shirt was so cute that I decided to make something out of the smurf motif. The smurfs have been my favorite cartoon as a little kid and I still love the way they look. I immediately got the idea of making underwear out of it. First of all, the material was very stretchy and second I know some mens underwear with colorful prints and I always loved it. So I decided to make an underwear pant with a colorful smurf print on the back.

If you are planning to turn a piece of cloth into something else you just need to be sure that the material is appropriate for your idea and you also need to check if there is enough material from the piece that you’re using. My old t-shirt was cut very tight and I had to check first if the length and breadth would be enough to fit my hip area. Fortunately, it fitted perfectly on my hips so that I would not even have to cut the sides open. I simply had to cut off the upper part of the t-shirt including smurfette. I love smurfette a lot, that’s why I kept her to use her for another project in the future.I could have made the pant with the print in the front, but I wanted to make a lining in the front and the motif would look better in the back. I also found a waistband that was formerly a part of another shirt. I thought it would look good on the pant and give it a sporty look. I think I made a very clean and nice looking finish. I should remember that for the next time. Trying the pant on it was feeling very comfortable. Hope you also like the fit and the design of it considering that it was made out of a t-shirt!For all of you who are waiting for another recipe: I will definitely post more recipes on my blog, but I will also share with you my sewing projects and other things out of my life! So my blog will be an interesting mixture!

The Brave Cook

Some powerful words and some creamy squash!

This week some words by the writer Marianne Williamson from her book “A return to love” got stuck in my head: “Our deepest fear is not that we are inadequate. Our deepest fear is that we are powerful beyond measure. It is our light, not our darkness that frightens us. We ask ourselves, who am I to be brilliant, gorgeous, talented, fabulous? Actually, who are you not to be?”

I love this short quote a lot, it really gives me motivation to hang on to my dreams and to love myself for my strengths and positive character traits. Of course, I also continued my practice in the kitchen presenting you today a delicious and wonderful looking creamy squash soup. I’ve seen quite a lot squash recipes the last days on wordpress and I loved them all, but I definitely wanted to make my own.Ingredients

  • 1 large butternut or hokkaido squash
  • 2 floury potatoes
  • 4 carrots
  • 1 onion (not necessarily)
  • 4 scallions
  • 1 chili
  • 1 tbsp olive oil
  • 1 tsp salt
  • 1 tsp lemon juice
  • 1 tsp sweet mustard
  • 2 cups chicken or vegetable stock

Instructions

Prepare the chicken or vegetable stock in a large stock pot or pan while chopping the vegetables. You can use as much stock as you like, depending on how creamy or not you want to squash soup to be. I didn’t use a lot of stock, because I wanted it to be very creamy.

Halve, seed, peel and cube the squash. Peel and chop also the onion, the potatoes, the carrots and the chili. Chop the scallions and add other herbs to your taste. Heat another large stock pot over medium-high heat with one tablespoon of olive oil and add the chopped onion first for some minutes, until softened. Now you can also add the squash, the other vegetables and the stock. Don’t forget to sprinkle with one teaspoon salt, some lemon juice and to add one teaspoon mustard.Bring everything to a boil, cover, reduce heat to a simmer and cook for 30-40 minutes until everything is completely tender. Now use an immersion blender or transfer it to a stand up blender/food processor to blend the soup smooth. You can still add more stock if it should be too thick for you.

Serve in small bowls with a dollop of sour cream or chopped scallions. Enjoy and have a great weekend!

The Brave Cook

My type of salsa!

The month is not even over but I’m already short of money. I was thinking what to do to avoid spending even more money for food this week. I took a look into my fridge to check what I could use up. I had tomatoes, onions, garlic and a lot of vinegar. The first thing that came to my mind was a salsa, but not the typical salsa in the form of a dip or sauce. I wanted to make something more like antipasti, an appetizer to be eaten with bread. One more thing I had at home were physalis fruits, so the idea came up to make a half spicy, half sweet salsa. Of course, I will tell you what I did differently when preparing my salsa. Please keep in mind that my recipe is only for a small bowl of salsa. If you want to prepare more salsa, you need to multiply the ingredients according to your needs!

Ingredients

  • 4 – 5 roughly chopped tomatoes, stems removed
  • 12 chopped physalis
  • 1 diced onion
  • 3 roughly chopped garlic cloves
  • 3 cayenne chilis or jalapeno pepper
  • 3 – 5 black olives
  • 1/2 cup chopped parsley or other herbs
  • 1 tsp cumin
  • 1 tsp sea salt
  • 1 tbsp fresh lime juice
  • 1/3 cup white wine vinegar

Instructions

Peel the husks off the physalis fruits and rinse well in cold water. Roughly chop or quarter the physalis fruit.

Start with chopping up 4 – 5 medium sized fresh tomatoes. Prepare the onion, the garlic, the olives, the parsley and the chilies in the same way, chopping them in chunky pieces and combining all the ingredients in a big pot. Set aside some of the seeds from the chilies if you don’t want your salsa to be too spicy.Now add the sea salt, cumin, lime juice and a 1/3 cup of red wine vinegar into the pot with all the other ingredients. You can also use fruit vinegar and mix it with red wine. Cook on medium heat for about 20 minutes, until everything is simmering and tender. To make a salsa dip or sauce puree with an immersion blender and cook everything for another 20 minutes on medium heat, stirring occasionally until it starts to be slightly thickened.

To make a chunky “antipasti” salsa like I did, don’t use an immersion blender. Simply cook the ingredients for 20 – 30 minutes, then separate from the vinegar and put into a mortar if needed.Salsa is really easy to make and you can prepare it in so many different ways and tastes! I could save some money by simply using up everything I had at home and turning it into this colorful appetizer. Serve it with some bread or use it as a substitute for a salad!

The Brave Cook

My Hokkaido, my love!

This week was weird! Although I’m having one week of holidays I’m still not feeling relaxed. Every single day is running by so fast. I really don’t know how to stick to my tight schedule for this week. At least the weather is more sunny than rainy this week so that I could capture one hour of sun today.

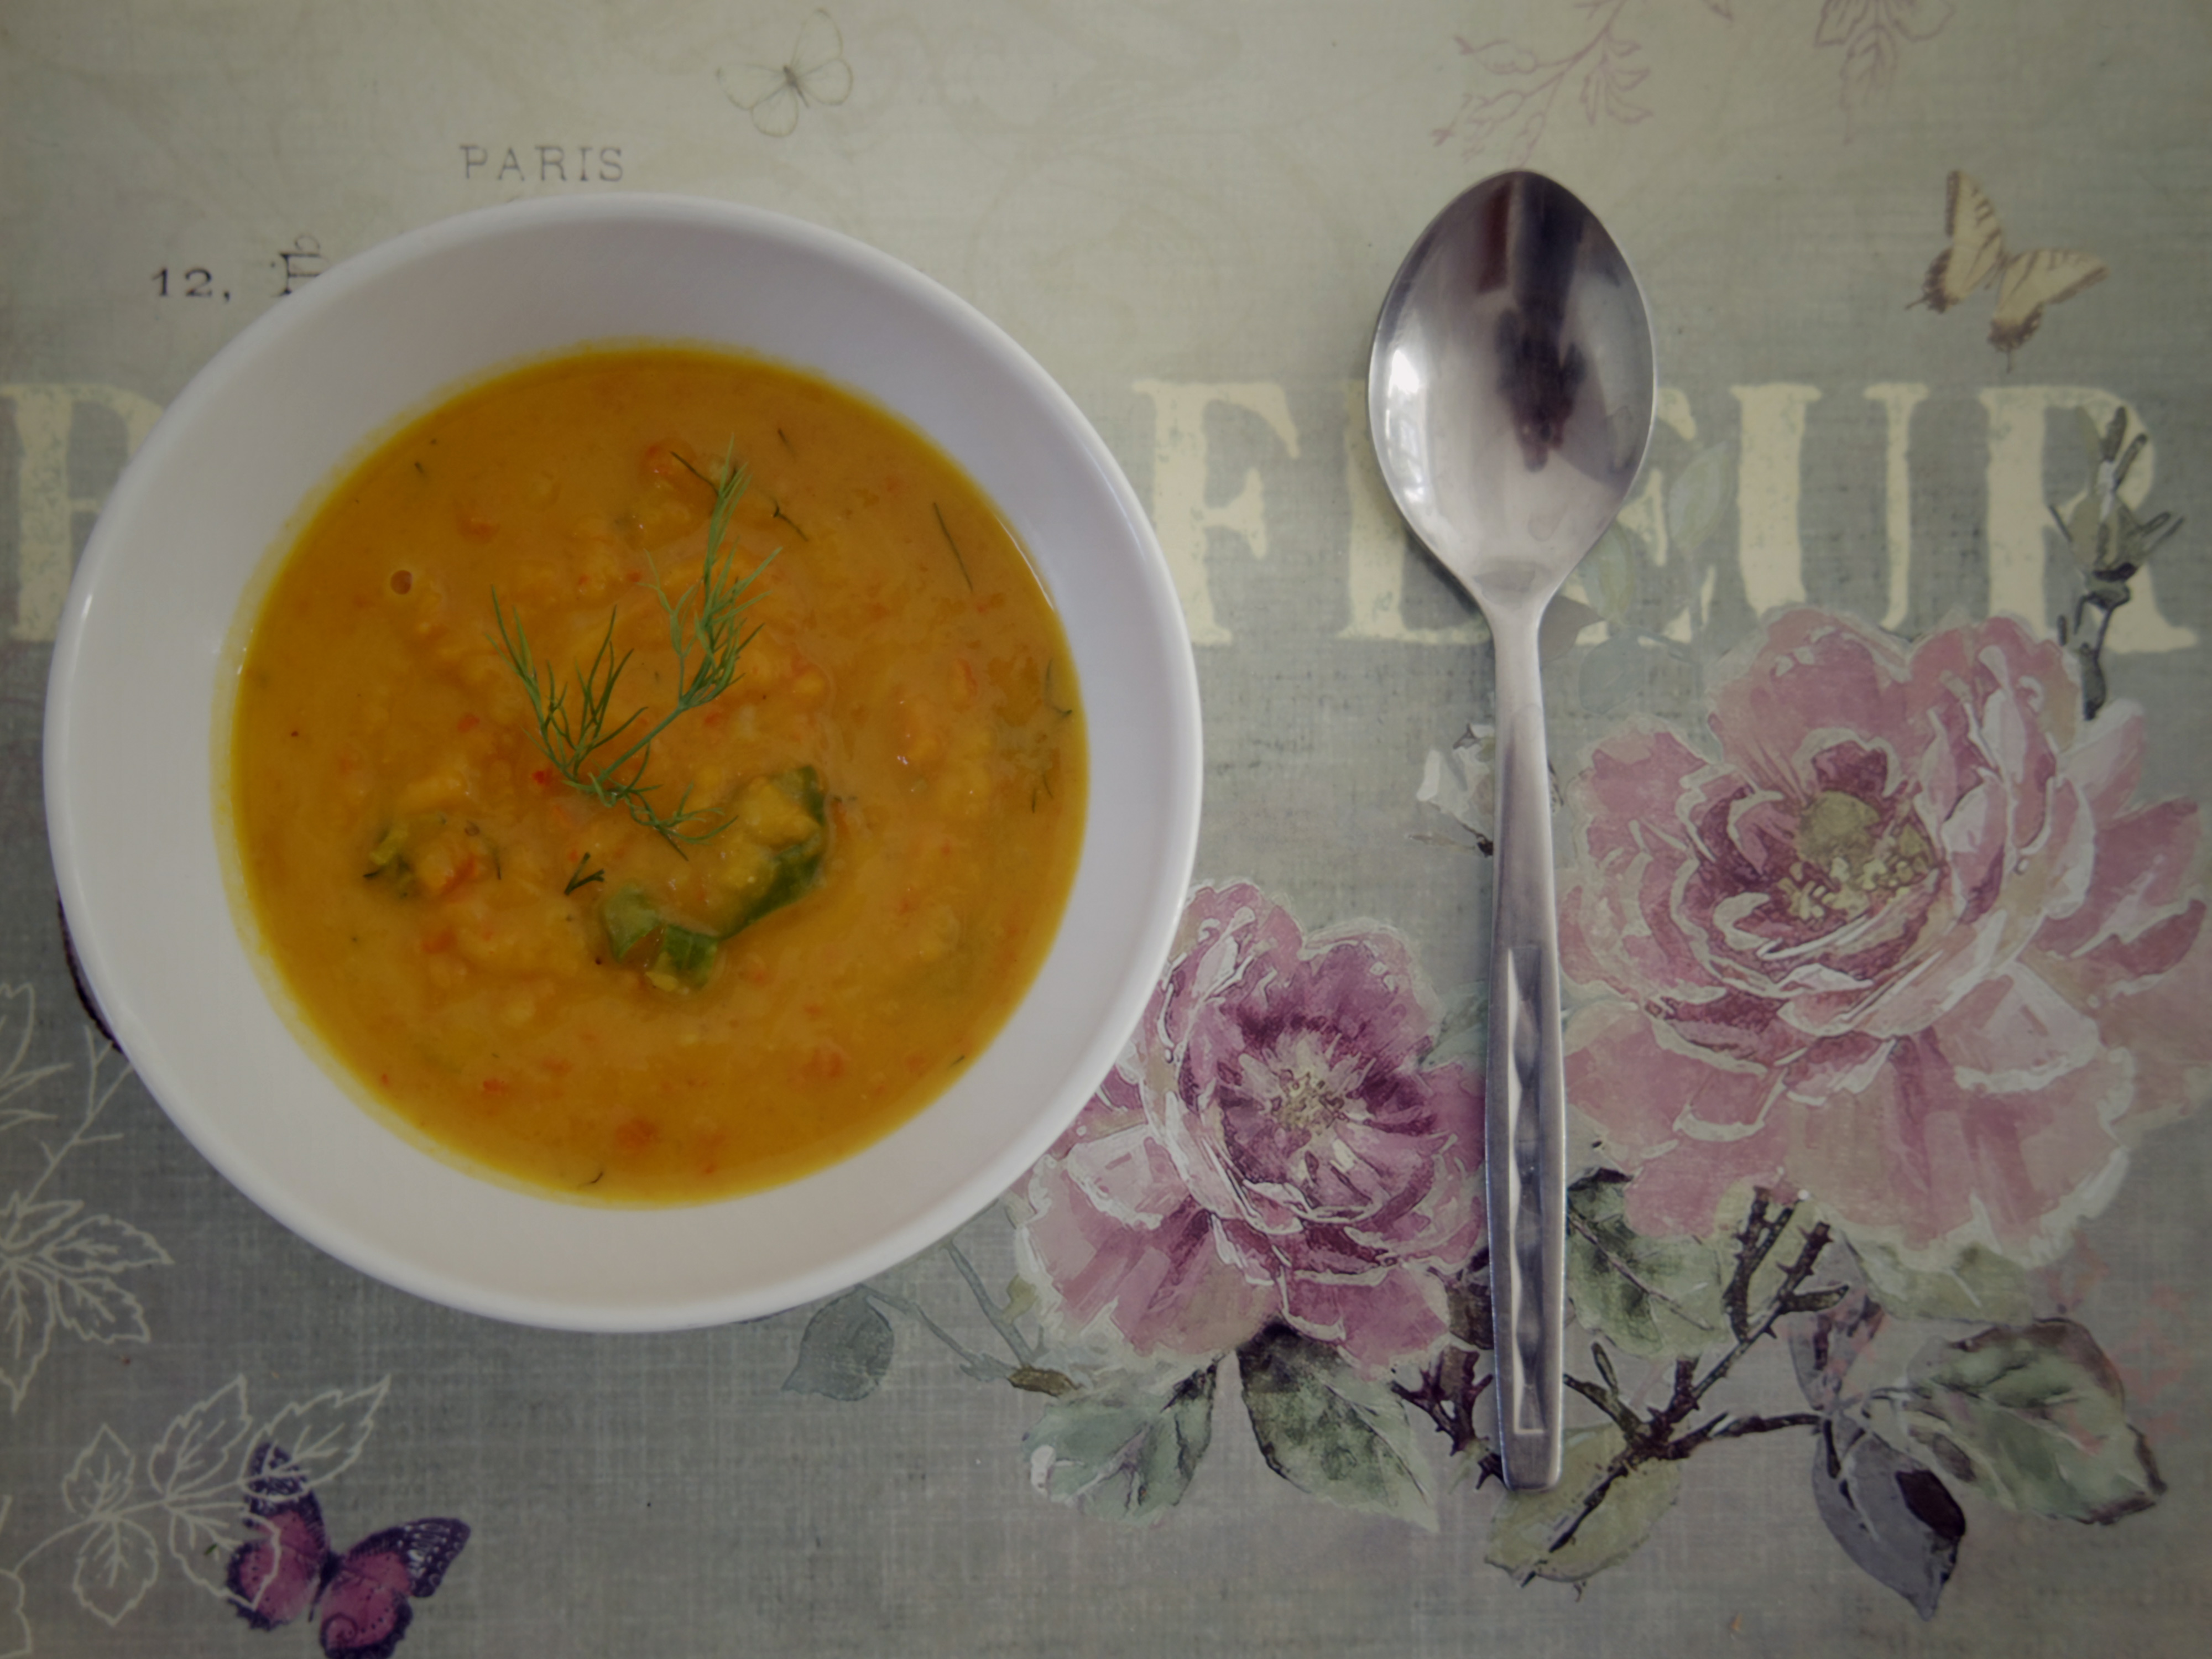
I think I need to remind everyone who reads this blog that I’m far from being a professional cook. I’m an amateur learning how to cook and trying to improve myself day by day. Of course, that doesn’t mean I’m such a horrible cook. To prove you that I’m able to deliver some decent recipes I’m presenting you today another creative dish made with two adorable fruits: Hokkaido squash and pomegranate!

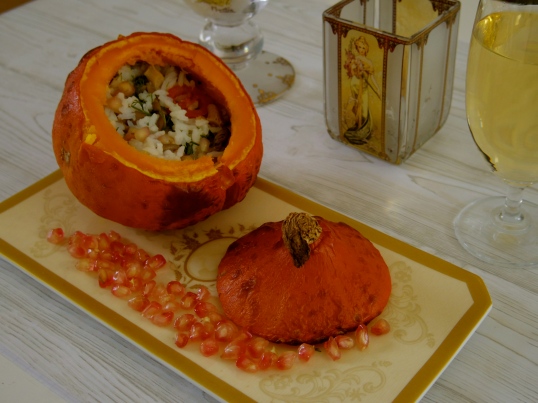
I was thinking a long time if there’s actually an english name for the japanese hokkaido squash. The hokkaido orange squash that I’m using for my recipe is quite common here in Germany, but I haven’t really seen them in the US yet. Whatever, it is definitely a lot of fun to prepare stuffed hokkaido squash with rice and pomegranate! What is more, it is the perfect dish when you’re planning to invite guests and to surprise them!

Stuffed hokkaido squash with rice and pomegranate

Ingredients

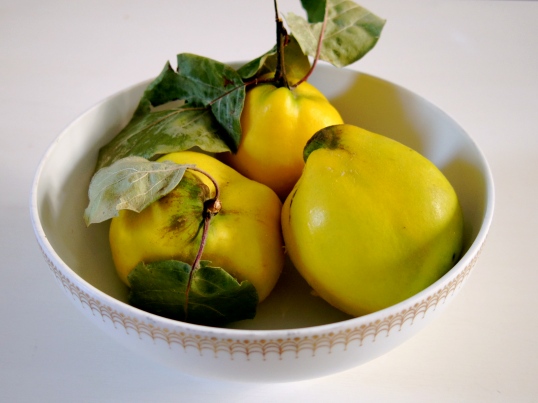
  • 1 small round hokkaido
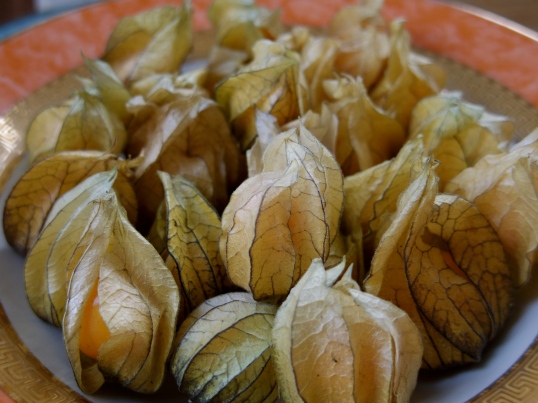
  • 1 pomegranate
  • 1 bag or 1 cup of rice
  • 5 shiitake or oyster mushrooms
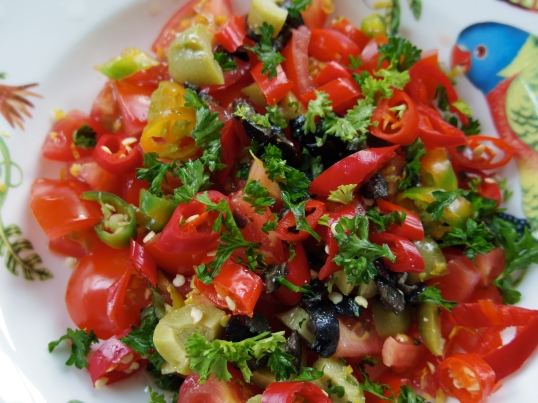
  • 2 cherry tomatoes
  • fresh herbs such as parsley, dill or else
  • rose leaves, fresh or brewed in tea

Instructions

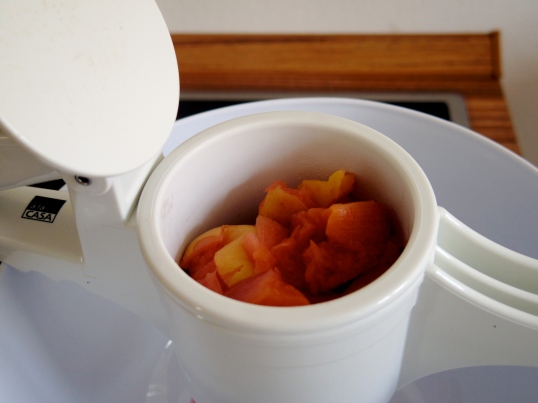
Cut off the top part of the squash as seen in the picture above. Use a sharp knife, hold it at an angle to the chopping board and carefully cut round the top of the squash, cutting out a shallow cone. Use a teaspoon to scoop out and discard the seeds and the stringy fibers.

Boil the rice in a small saucepan until it is tender. In the meantime, half the pomegranate along its equator and, holding the cut side over a bowl, beat the seeds out of it by bashing the skin with the end of a rolling pin or a wooden spoon. Of course, you can also scoop them out with your fingers.

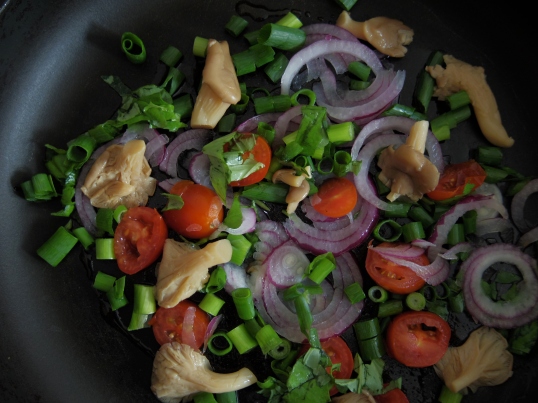
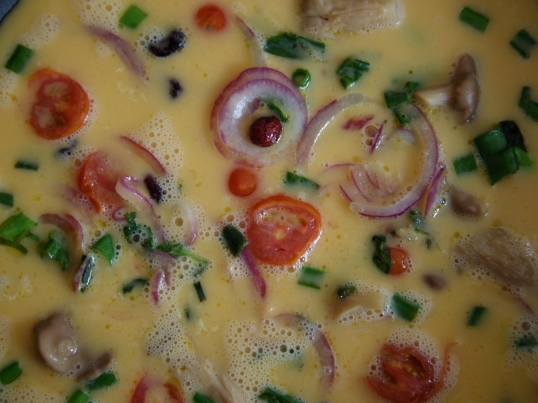
Chop the mushrooms and the tomatoes, put them in a saucepan and saut̩ them for 3 Р5 minutes. Take a bowl, put the boiled rice with the mushrooms, the tomatoes and the pomegranate seeds in it. Chop some fresh dill or other fresh herbs and add them to the other ingredients in the bowl. Now knead everything with your hands or with a big spoon until it is incorporated.

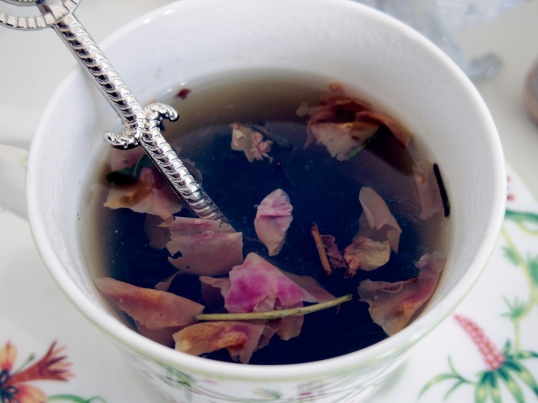
I also brewed up some rose tea to add a few rose leaves into the rice. You can leave it out or simply put some rose leaves on top of the squash for decoration. I love to use eatable flowers, especially roses, for my dishes. Of course you can use fresh rose leaves too!

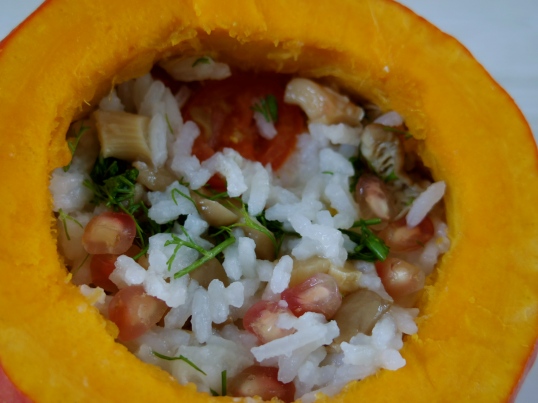
Preheat the oven to 180℃. Spoon the rice with all ingredients into the quash. Put the cut top back on the squash and bake for 30 minutes until the squash flesh starts to get tender. You can test it with skewer. The best way is to serve it hot out of the oven!Enjoy your stuffed squash, the next squash recipe is on its way!

The Brave Cook

Where’s the spaghetti?

It’s squash season and everybody is preparing different dishes made with squash. Of course I had to buy my different sorts of squash too! I love to choose the most beautiful ones and to keep them at my window as long as I haven’t prepared them yet. Depending on the size and the shape of the squash I decide what I want to do with it. Maybe I should grow my own squash to see how it will look like. Not everyone likes the taste of pumpkin and I can understand that, but there are different sorts of squash and I wanted to start with a spaghetti squash. I don’t know if there is another english name for this squash but that’s how we call it here in Germany. The reason why it is called like that is because it has fibers inside that resemble spaghetti noodles. Is it not beautiful?

The best way to prepare a spaghetti squash is to make a salad or a stew. Since my spaghetti squash is so big I decided to make a salad and a soup with it. I took a huge sharp knife and cut it in half. It’s really not as easy as you may think. It takes some strength to split it in half. One half will be boiled in a pot and the other half put into the oven. I have done this only to compare both ways of preparation and to find out if there is a difference in taste. To forestall the question about the difference in taste: Yes, it is! Squash that is heated in the oven is softer than squash boiled in water. At least that is my experience.

You can decide if you want to remove the inner part with the seeds before heating it or afterwards, but when you put it into the oven it is better to remove the inner part at first. Heat the oven to 180 C and bake it for 40 minutes. The other half can be boiled in a pot also for 40 minutes.

In the meantime you can chop the other vegetables for the salad. Of course, you can choose whatever vegetables you like to mix with squash. I always go for what is in my fridge. I took a zucchini and some tomatoes, because my plan was to use the second half of the squash for a soup. When the vegetables are chopped you can start preparing a simple chicken broth for your “noodle” soup. At the same time the chopped vegetables can be fried gently in some olive oil or sesame oil.

I have seasoned the zucchini and the tomatoes with some special rose salt, giving it a strong aroma. To use simply salt may seem boring, but sometimes too many spices take away the original flavor of the vegetables.

The spaghetti squash should be ready by now and it is time to take one half out of the pot and the other out of the oven. Be careful, because the squash is still very hot! Now take a fork and scrap the fibers out of the squash, they should come out like short spaghetti.Of course the squash fibers do not taste like spaghetti at all, but it is a great alternative to pasta. If you invite guests you can surely surprise them with spaghetti squash, because a lot people did not have the chance to take it yet!

The last steps are simple! Put the fried vegetables on the squash and drizzle some lemon juice or some oil on the salad. You can eat the squash salad warm as well as cold.

Do not forget to use the other half of the spaghetti squash for your chicken soup. Basically you can use the same vegetables for your soup or prepare others. Put them on the spaghetti fibers and pour the soup other it. I was surprised how good it tastes, the perfect replacement for noodles!

There are a hundred ways of preparing squash, so other squash recipes are on the way! Enjoy your warm salad and soup during this beautiful fall season.

The Brave Cook

Omelet with oyster mushrooms and cranberries

The last days were very stressful for me because I had some serious throat pain with coughing and at first I thought it would be a simple flu but as it always disappeared unexpectedly the same way as it appeared from time to time I reckoned it could be caused by something else. Since it appeared mostly in the mornings after sleep and after having food it showed that it was caused by an oesophagitis due to an acidity of the stomach. Now I feel relieved that it was nothing serious and I can concentrate again on posting the first recipe on my blog.

To regain my energy after some nights without sleep I was thinking of preparing something simple but still delicious giving me new drive for the day: An omelet!

Ingredients:

6 eggs

1 red onion

3 cherry tomatoes

2 green/spring onions

5 – 10 oyster mushrooms

a handful cranberries

some basil leaves

salt/pepper

The recipe is as simple as it sounds but it is colorful and nutritive! First you cut all the vegetables as shown in the pictures: The red onion, the cherry tomatoes, the green onions, and the basil leaves.

Don’t cut the cherry tomatoes too chunky, they have to be covered with the whipped eggs!

Now it is time for the most beautiful ingredient of this recipe: The red onion! Somehow I was fascinated seeing it on the photographies.

The oyster mushrooms don’t need to be cut into small pieces unless they are not too big.

Now you can put everything into a pan and fry it gently with some olive oil. I used a very acerb olive oil to impart an aromatic flavor to the omelet.

For those of you who love to give it a fruity taste add some dried cranberries to it like I did.

Now it’s time to whip the eggs and to add the creamy whipped eggs to the other ingredients in the pan. Some like to add salt and pepper directly to the whipped eggs, others do it in the pan after pouring the eggs into it.

Fry the egg mixture with all the vegetables gently so that the egg does not burn. When one side starts becoming brown it’s time to flip it.

Enjoy your omelet like I did! Now I have new energy to indulge in new recipes and photographies!

The Brave Cook

Post Navigation

Sree is travelling

Travel blog of Sreejith Vijayakumar

What an Amazing World!

Seeing, feeling and exploring places and cultures of the world

India Food Club

Connecting all foodies in India....

The Wanderboy

Breathing room for all my stories.

TO LOVE THAN TO BE LOVED

..for it is by self-forgetting that one finds..

FWST

Celebrate you , Celebrate STYLE

I Am Not In England

Lifting the curtain between here and there.

Blue Diamond Society

Blue Diamond Society's blog site

thegaycatholicguy

gay or catholic ? ... or both

LGBTQ HealthLink

Proud Program of CenterLink: The Community of LGBT Centers

wearabout

Street style, fashion, textiles, and talking to people.

Life, Photography & Other Mistakes - is now dormant

Follow my new blog: https://lifephotographyandothermistakes.wordpress.com

Adventures in Wonderland

a pilgrimage of the heart

The Barby Bulletin

news and musings from a subcontinent stay

Tanuja Yadupathi

Travel | Photography | Trekking

Behind Your Screen

Get thinner, but deeper

Charming Whimsy

http://www.etsy.com/shop/CharmingWhimsy

borscht and babushkas

mostly adventures from peace corps ukraine

The Kitchen's Garden

Sustainable. Self Sufficient. Loving the Land. Join Us!

Vegetarian 'Ventures

A Vegetarian Food Blog with a Twist of Adventure

gotasté

recipes for life

Lakshmi Loves To Shop

The Nirvana of travel, shopping and spirituality...

Urban Cottage Life

modern scratch living

veggiezest

Vegan & Vegetarian recipes from around the world

the searched - searched

My life from the heart of Berlin!

zenlifeastra

Eyes are the Window of your Soul